I recently purchased a Lenovo SA120 and ordered a few trays to go along. I read online that the blank trays can be used as trays with some “modification” so I wanted to see how hard this was before populating the entire unit with OEM trays. I was unable to find any write up or guide to the process, so I figured I’d help those who are curious.


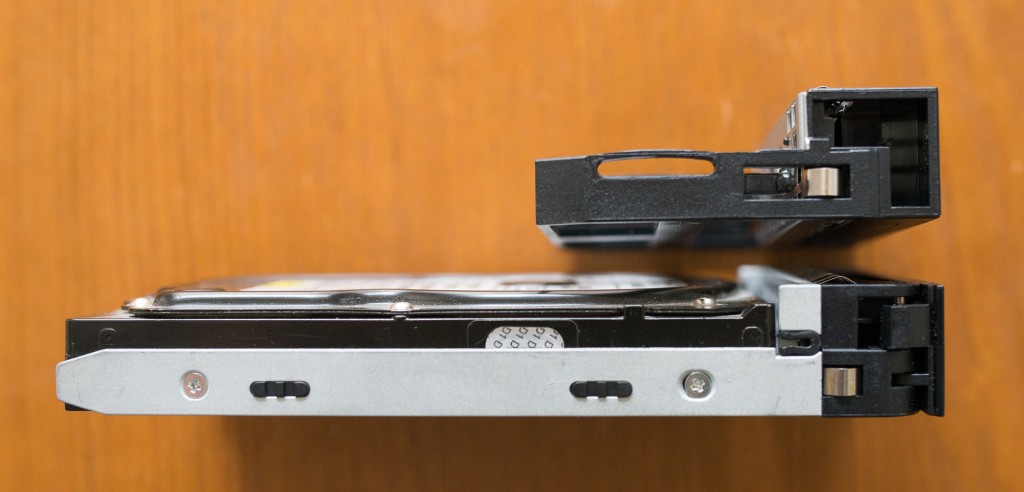
OEM Tray vs OEM Blank


The red highlights need to be cut/removed.

Tools used:
– Rotary tool
– Drill
– Cutting wheel
– Grinder wheel
– Sanding wheel

In progress

Lining up the screw hole, I used a marker to make a dot and then a 11/64th drill bit to drill the hole.


Final Product

Testing


Working! (note: I moved the drive positions from the picture)
Overall this works fine but it does have it’s downfalls. If you already have the tools in the garage/shop then this will get you by if you cant afford the Lenovo Trays. You will need to order one drive tray to use as a template for the screw holes.
Downfalls: You will lose the drive and activity lights the OEM trays have. The blanks take a little force to slide in to the slots when compared to the OEM Trays. Since the modified blanks don’t support the rear of the drive, the drive drops when you slide it in. If you have blank slots you can use your hand to support the drive, if the unit was fully populated you will need to get creative.
Enjoy!