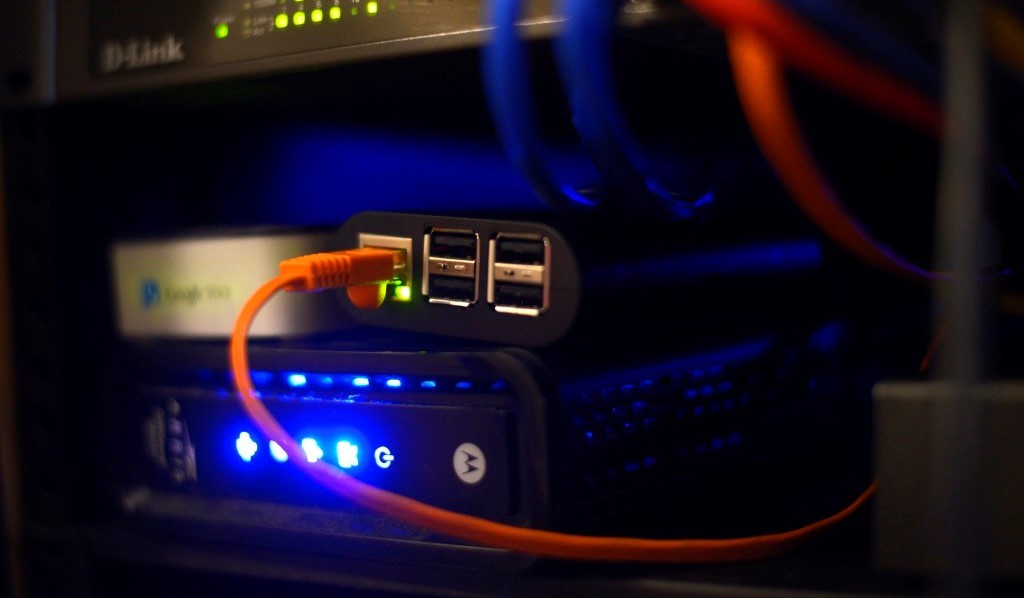
I’m sure many people (like myself) have a spare Raspberry Pi laying around and always want to have a cool project or use for it. I recently stumbled upon a really great use for that extra Pi in the house!
Meet Blockade a DNS ad blocker that is easy to setup and is a great ad blocking solution for home or work. Blockade is free and will do the following for your entire network with little effort:
-
- Block malware, tracking, & ads on every device in your network
-
- Choose a single device, a group, or your entire network
-
- Simple software deployment and configuration
- Custom blocklist & exceptions
Recently the Metiix team added support for the ARM processor and have an package all set for Raspbian.
Install
The install is dead simple and I had the a fresh Raspbian install + Blockade configuration setup in a few minutes.
Fire up that spare Raspberry Pi or use an existing one. Hit the Terminal and type the following:
cd /tmp

wget http://files.metiix.com/installs/metiix.blockade/blockade_arm.linux.1.2.0.zip

unzip /tmp/blockade_arm.linux.1.2.0.zip

sudo ./install.sh
*note the build will change with time
From here you will will need to confirm some file locations (default options work great in a vanilla Raspbian install) so keep pressing the [y] key.
Once that is complete the Blockade server will start.
Configuration
Now you can point your browser to http://localhost:8053 and configure the system (Default username: admin password: blockade).
Once logged in you will be greeted with a screen that looks like this:
Once you are up and running, you can change the default login information, there isn’t much else to configure!
DNS Configuration
To start taking advantage of Blockade you will need to change the DNS server on your PC/Mac/Linux Desktop, or router.
You will be want to redirect your preferred DNS server to the IP address of your Raspberry Pi. Note:Make sure you have configured a static IP address for you Pi.
If you want to test things before making the change on the router, configure 1 system to test.

From the above screenshot above you can see I have configured my Blockade instance as a primary DNS and then google DNS as a secondary. This allows everything to continue working if they Pi or Blockade were to crash, lose power, etc. You could also configure two separate instances of Blockade as primary and secondary, etc.
If you are planning on integrating this into an environment with Active Directory integrated DNS you can configure blockage as the forwarder (I have not tested this yet).
Improvements/Next Steps
According to Metiix, Blockade should improve network performance. Since up to 20% of internet interactions and traffic contain block queries (unwanted traffic). Once Blockade is in place, you can look at your Query History page and hit refresh to listen in.
What if Blockade blocks a site I want to visit? You can check check your Blocked Queries and look for any current blocked domain history that you may want to add to your Exceptions list and allow. When Blockade is working you will also see a little “M” on your browser bar.
If you need to disable blockade on the fly, login to the admin portal (http://localhost:8053) click on “Settings” in the Manage drop down window and turn “OFF” the Blockade Server, then Click Save. Turn it back “on” and Blockade Server will immediately go back to work.
Fore more information, FAQ, and download links check out Metiix’s site.
I have no affiliation with Metiix or Blockade. I couldn’t find much information other than the FAQ on Metiix’s site. Hopefully this will save a few people some time or additional reading and get things running quickly.
I’ll leave you with a image of my Pi tossed into my rack. I still need to find a better mount solution.

